Setting up our server
Two team members, Lee and Janna, took the first steps to setting up our server in the Milieux maker space this week. Following low-tech principles and because of its versatility for prototyping, we chose to work with a Raspberrry Pi, a tiny computer that can be connected to various other hardware components such as a keyboard, a mouse, or an e-ink display. The steps for setting up a server are actually pretty straight forward thanks to the many web tutorials out there–even if one doesn’t fully understand what one is doing–but some tutorials proved to be more helpful than others.
A Raspberry Pi server setup consists of 4 main steps, usually referred to as the LEMP stack:
- Installing the Linux-based Raspian operating system on the Pi,
- Setting up nginx (pronounced engine-ex, hence the E in the abbreviation), an open-source software for web serving,
- Installing MySQL, an open-source relational database management system (RDBMS) with a client-server model
- Configuring PHP–which stands for Hypertext Preprocessor–an open-source, server-side scripting language.
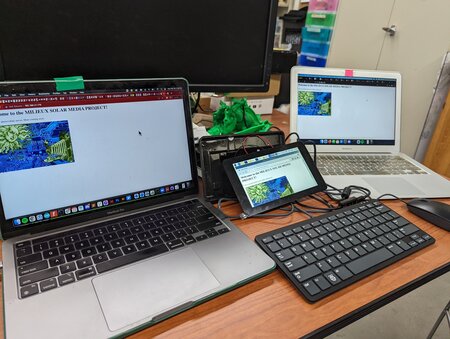
Once we had completed Step 2, we were able to navigate to our local IP address. For now, our server is running on a local network on a phone hotspot. Our application for making it publicly accessible on Concordia University’s network is still pending.
Here are three online tutorials that we found useful for navigating the server setup:
Build your own Raspberry Pi NGINX Web Server by Pi My Life Up
The Raspberry Pi Tutorial – A Beginner’s Guide by The Pi Hut
Introduction to Raspberry Pi with Raspbian OS by The Code Project
Text by Janna Frenzel, photo by Lee Wilkins